Few moments in life are as joyful and memorable as discovering whether you’re expecting a baby boy or girl — and sharing that surprise with loved ones makes it even more special. A Gender Reveal Cake is one of the most exciting and delicious ways to make that announcement. It combines celebration, suspense, and sweetness all in one beautiful dessert.
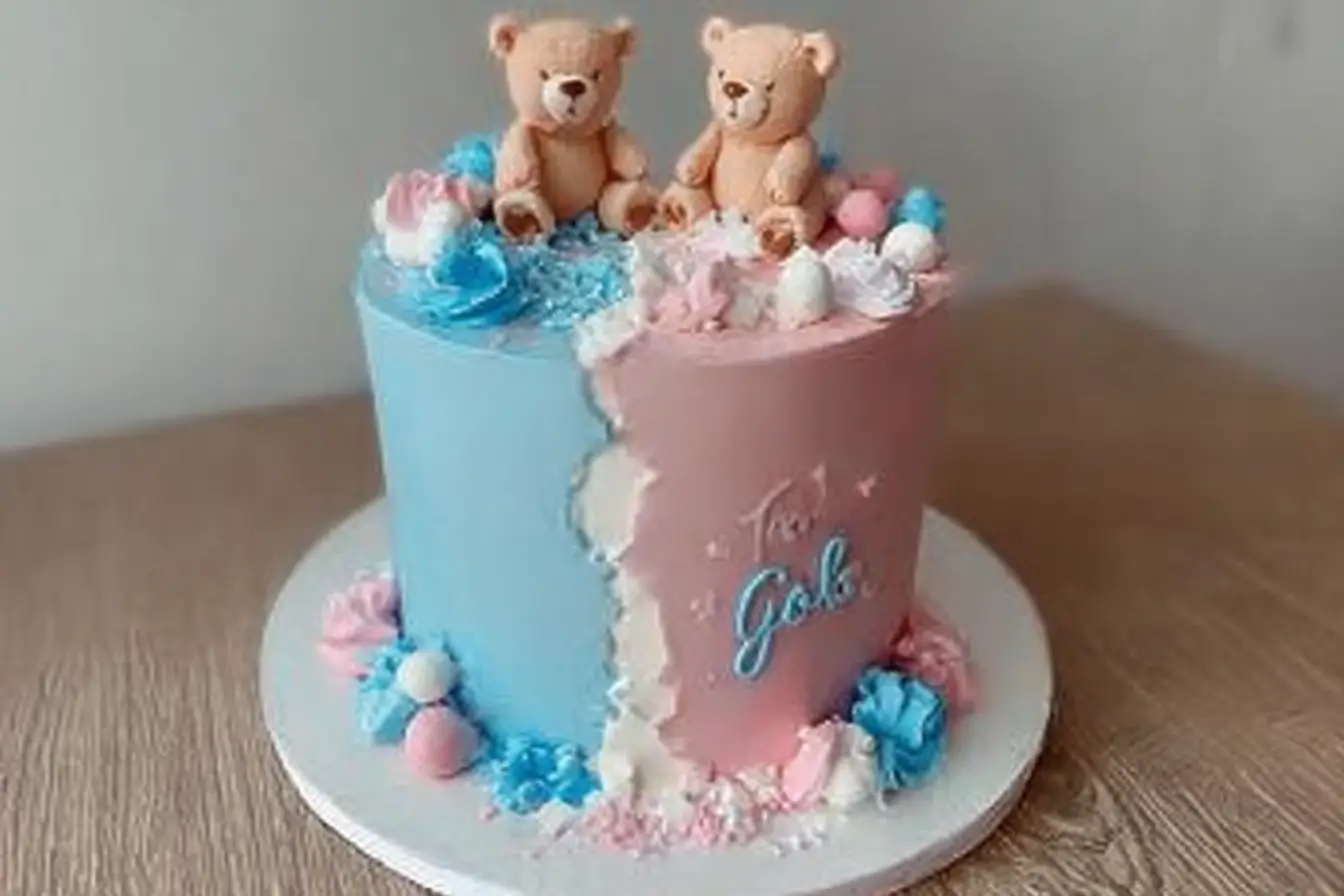
A gender reveal cake may look like a regular cake from the outside — beautifully frosted and decorated — but the true surprise lies within. The first slice reveals a pink or blue interior, signaling the baby’s gender in a fun, heartwarming way. Whether you’re planning a small family gathering or a grand party, this cake becomes the centerpiece of your reveal.
This step-by-step guide will walk you through how to bake a stunning gender reveal cake from scratch, decorate it like a professional, and create that unforgettable moment when everyone cheers and smiles at the big reveal. The recipe is simple, easy to follow, and perfect for beginner bakers. You’ll also find creative decoration ideas and answers to common questions to help make your gender reveal event perfect.
Ingredients
Before you begin, gather all your ingredients and tools. Having everything ready will make the baking process smoother and more enjoyable.
For the Cake:
- 2 ½ cups all-purpose flour
- 2 ½ tsp baking powder
- ½ tsp salt
- 1 cup unsalted butter, softened
- 2 cups granulated sugar
- 4 large eggs
- 2 tsp vanilla extract
- 1 cup milk
- Pink or blue food coloring
the Frosting:
- 1 cup unsalted butter, softened
- 4 cups powdered sugar
- 2–3 tbsp milk
- 1 tsp vanilla extract
For Decorating:
- White or pastel-colored sprinkles
- Pink and blue decorations (optional)
Preparation Method
Step 1: Preheat and Prepare
Preheat your oven to 350°F (175°C). Grease and flour two 8-inch round cake pans. You can also line the bottom of each pan with parchment paper for easier release. Proper preparation prevents sticking and ensures a professional-looking finish.
Step 2: Make the Cake Batter
- Mix the dry ingredients: In a medium bowl, whisk together the flour, baking powder, and salt until well combined. This helps distribute the leavening agent evenly and avoids clumps.
- Cream the butter and sugar: In a separate large bowl, beat butter and granulated sugar together until the mixture is light, fluffy, and pale. This step is crucial for creating a soft and airy cake texture.
- Add eggs and flavor: Beat in the eggs, one at a time, mixing well after each addition. Stir in the vanilla extract for that warm, sweet aroma.
- Combine wet and dry ingredients: Gradually add the flour mixture to the butter mixture, alternating with milk. Begin and end with the flour mixture. Mix until smooth but do not overmix — this keeps the cake tender.
Step 3: Color the Batter
Now comes the fun part! Divide the batter evenly between two bowls. Add a few drops of pink food coloring to one bowl and blue food coloring to the other, depending on the gender reveal plan.
- If you want a surprise reveal, use only one color and keep it secret until the cutting moment.
- For a split cake, bake one pink and one blue layer for a dual-colored theme.
Mix the food coloring gently until the batter is evenly tinted.
Step 4: Bake the Cakes
Pour each colored batter into the prepared cake pans. Smooth the tops with a spatula for even baking. Bake for 25–30 minutes, or until a toothpick inserted in the center comes out clean.
Remove from the oven and allow the cakes to cool in their pans for about 10 minutes before transferring to a wire rack to cool completely. Letting the cakes cool thoroughly is essential before frosting — warm cakes can cause frosting to melt and slide off.
Step 5: Make the Frosting
While the cakes cool, prepare your frosting. This simple buttercream frosting is light, creamy, and easy to spread.
- Beat the butter: In a mixing bowl, beat unsalted butter until smooth and fluffy.
- Add powdered sugar: Gradually add powdered sugar, one cup at a time, beating well after each addition.
- Add milk and vanilla: Mix in milk and vanilla extract to achieve a creamy, spreadable consistency. Adjust the milk or sugar slightly if the frosting feels too thick or too thin.
This frosting serves as both the filling and the exterior decoration. Its mild vanilla flavor complements the soft, buttery cake beautifully.
Step 6: Assemble the Cake
For a Standard Two-Layer Reveal:
- Trim and level: If the cakes have domed tops, gently trim them with a serrated knife to ensure even stacking.
- Add frosting between layers: Place one cake layer on your serving plate or cake stand. Spread a generous amount of frosting on top.
- Add the second layer: Carefully place the second layer over the first. Frost the top and sides with a thin layer — called a crumb coat — to seal in any crumbs. Refrigerate for 15–20 minutes to set.
- Apply the final coat: Once chilled, apply the final, smooth layer of frosting. Use a spatula for an even finish.
For a Hidden Sprinkle Surprise Cake:
This variation adds extra fun to your reveal moment.
- Cut out the center: Use a small round cutter or knife to remove a 2–3-inch circle from the center of one of the cake layers.
- Add sprinkles: Fill the hole with pink or blue sprinkles (depending on your reveal color).
- Seal it up: Gently place the top layer over the filled layer, covering the secret. Frost and decorate as usual. When you cut the first slice, the colored sprinkles will cascade out, revealing the baby’s gender!
Step 7: Decorate the Cake
Here’s where creativity shines. Keep the outside neutral and elegant, concealing the surprise within.
Decoration Ideas:
- Classic white frosting: A smooth, white buttercream base keeps the mystery intact until the reveal.
- Pastel sprinkles: Add soft pastel sprinkles or edible glitter for a delicate, dreamy look.
- Pink and blue accents: Use piped frosting rosettes, tiny fondant bows, or color-coded candies around the base for a festive touch.
- Gender-neutral designs: Clouds, stars, or hearts in soft shades of yellow, green, or gold keep the surprise hidden while maintaining charm.
- Text decoration: Write “He or She?”, “Boy or Girl?”, or “Ready to Pop?” on the cake using colored frosting or fondant letters.
Tips for the Perfect Gender Reveal Cake
- Use gel food coloring: It gives vibrant color without changing batter consistency.
- Check your oven: Avoid overbaking by testing a few minutes early; a toothpick should come out clean.
- Cool completely before frosting: Patience pays off — frosting a warm cake causes sliding and melting.
- Consistency of frosting: Add milk by the teaspoon to adjust texture if needed.
- Practice your design: If piping decorations, practice on parchment before applying them to the cake.
- Temperature control: If it’s warm, chill your cake layers and frosting slightly before assembly to make them easier to work with.
Creative Gender Reveal Ideas
A gender reveal cake is just one way to announce your exciting news — but it can be part of an entire event theme! Here are some creative ideas to make your celebration unforgettable:
1. Hidden Filling Surprise
Instead of coloring the cake layers, try filling the center with pink or blue sprinkles, candy, or colored frosting. When you cut into the cake, the filling spills out for a dramatic and photo-worthy reveal.
2. Ombre Layers
Create a gradient effect by tinting each cake layer with varying intensities of pink or blue. When sliced, it reveals a beautiful ombre surprise inside.
3. Dual-Flavored Cake
Make half the cake pink (strawberry flavor) and half blue (blueberry or vanilla). Each bite reflects the theme while keeping it delicious.
4. Cupcake Reveal
Instead of one big cake, bake cupcakes filled with colored frosting. When guests take a bite, they’ll find the surprise color inside. This option works well for individual reveals or outdoor gatherings.
5. Neutral Exterior, Bright Interior
Keep the outside pure white with minimalist decorations. When cut open, the vibrant interior will shock and delight everyone.
6. Marble Cake Twist
Swirl pink and blue batter together for a playful marble pattern inside the cake — perfect if you’re revealing twins or keeping it a mystery until the very last second!
Storage and Serving
- Room temperature: Store your gender reveal cake in a covered container at room temperature for up to 2 days.
- Refrigeration: If you live in a warm climate, refrigerate it for up to 5 days, but bring it to room temperature before serving for the best texture.
- Freezing: Unfrosted cake layers can be wrapped and frozen for up to 2 months. Thaw completely before frosting and assembling.
For serving, use a clean, sharp knife for the reveal slice. The first cut is the most exciting — make sure cameras are ready to capture the big moment!
Frequently Asked Questions (FAQ)
1. How far in advance can I make the cake?
You can bake the cake layers 1–2 days in advance. Store them wrapped tightly at room temperature. Frost and decorate on the day of your reveal for the freshest look and taste.
2. Can I use box cake mix instead of homemade?
Yes, absolutely. If you’re short on time, you can use your favorite vanilla or white cake mix. Add food coloring and follow the same assembly steps for the reveal.
3. Can I use whipped cream frosting instead of buttercream?
Yes, but whipped cream is softer and may not hold up as long. If you use it, refrigerate the cake and serve it soon after assembly.
4. What’s the best food coloring to use?
Gel food coloring works best. It produces vibrant color with just a few drops and doesn’t alter the cake’s texture.
5. How can I keep the surprise a secret?
If you don’t want to know the gender before the reveal, ask your doctor to write the result on a card and seal it in an envelope. Give it to a trusted friend or baker who can prepare the colored filling for you.
6. Can I make this cake gluten-free?
Yes. Substitute the all-purpose flour with a gluten-free baking blend. Ensure other ingredients, like baking powder, are also gluten-free.
7. What if I don’t want to use food coloring?
You can use natural alternatives like beet juice for pink or blueberry puree for blue. The colors will be softer but still visible.
8. Can I make cupcakes instead?
Definitely. This recipe makes about 24 cupcakes. Fill the centers with pink or blue frosting for individual reveals.
9. How do I make the cake extra moist?
Avoid overbaking, use room-temperature ingredients, and don’t overmix the batter. You can also brush each cake layer with a little simple syrup before frosting for added moisture.
10. How do I store leftovers?
Store leftover cake in an airtight container. It will stay moist at room temperature for 2 days or in the fridge for up to 5.
Conclusion
A Gender Reveal Cake is more than just dessert — it’s a beautiful way to share one of life’s most precious surprises with your loved ones. With its soft, fluffy layers, creamy frosting, and hidden color center, this cake makes the reveal unforgettable.
Whether you choose a simple white exterior with a bold interior or an elegant sprinkle surprise, the magic lies in the moment the first slice is cut and everyone cheers with joy. This cake isn’t just about taste; it’s about creating a memory that will last forever.
Print
Gender Reveal Cake – Step-by-Step Recipe & Ideas
- Total Time: 55 minutes
- Yield: 12 servings
- Diet: Vegetarian
Description
Celebrate your special moment with this fun and delicious Gender Reveal Cake! Moist vanilla layers hide a surprise pink or blue center — the sweetest way to share your exciting news!
Ingredients
- For the Cake:
- 2 ½ cups all-purpose flour
- 2 ½ tsp baking powder
- ½ tsp salt
- 1 cup unsalted butter, softened
- 2 cups granulated sugar
- 4 large eggs
- 2 tsp vanilla extract
- 1 cup milk
- Pink or blue food coloring
- For the Frosting:
- 1 cup unsalted butter, softened
- 4 cups powdered sugar
- 2–3 tbsp milk
- 1 tsp vanilla extract
- For Decorating:
- White or pastel-colored sprinkles
- Pink and blue decorations (optional)
Instructions
- Bake the Cake: Preheat oven to 350°F (175°C). Grease and flour two 8-inch round cake pans. In a bowl, whisk together flour, baking powder, and salt. In another bowl, beat butter and sugar until creamy. Add eggs one at a time, then vanilla. Gradually mix in flour mixture alternately with milk until smooth.
- Divide batter evenly into two bowls. Add pink food coloring to one and blue to the other (or just one color if you prefer a surprise center). Pour each colored batter into separate pans and bake for 25–30 minutes, or until a toothpick inserted in the center comes out clean. Cool completely.
- Make the Frosting: Beat butter until fluffy. Gradually add powdered sugar. Add milk and vanilla and beat until smooth and creamy.
- Assemble the Cake: Layer the cooled cakes with frosting between each layer. If doing a surprise reveal, cut out a small hole in the center of one layer and fill it with colored sprinkles (pink or blue). Place the second layer on top and frost the entire cake. Decorate with white frosting and pastel sprinkles.
- Reveal & Celebrate: When it’s time for the big reveal, slice the cake to show the hidden pink or blue center!
Notes
- Use gel food coloring for vibrant color without thinning the batter.
- You can make cupcakes instead of a large cake for individual reveals!
- Prep Time: 25 minutes
- Cook Time: 30 minutes
- Category: Dessert, Celebration Cake
- Method: Bake
- Cuisine: American