
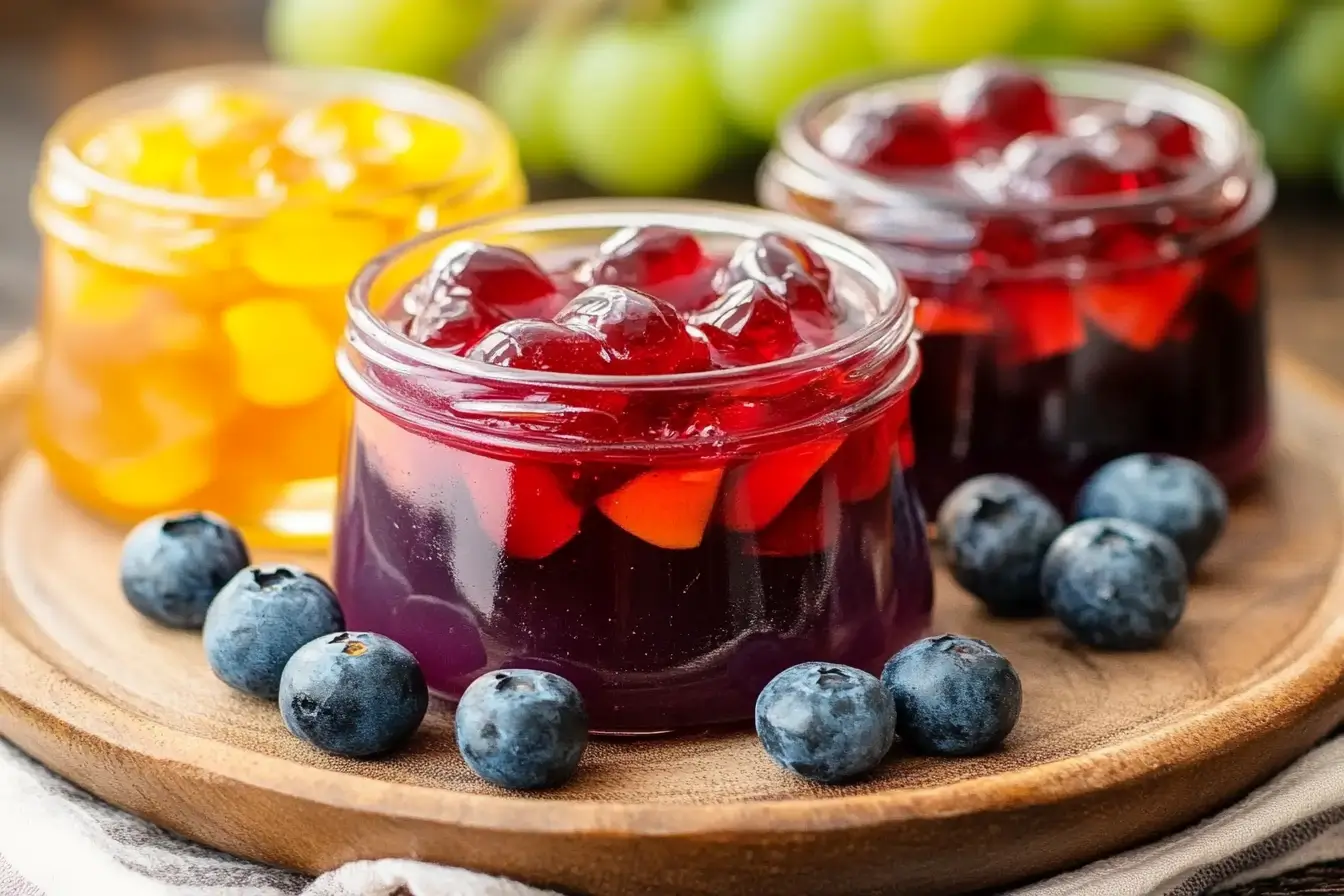
Sure Jell recipes are a fantastic way to create delicious homemade jams and jellies. This guide explores the ins and outs of using Sure Jell, ensuring your preserves set perfectly every time. From classic fruit flavors to creative combinations, mastering Sure Jell opens up a world of culinary possibilities.
Understanding Sure Jell
Sure Jell is a brand of powdered pectin, a naturally occurring substance found in fruits. Pectin is essential for thickening jams and jellies, giving them their characteristic texture. Without sufficient pectin, your homemade preserves might end up runny and undesirable.
Sure Jell comes in different forms, each designed for specific types of recipes. Therefore, understanding the variations is key to achieving success. Classic Sure Jell is ideal for making cooked jams and jellies using a variety of fruits. There’s also no-sugar-needed pectin, allowing you to control the sweetness of your preserves. Furthermore, liquid pectin is an option, often used towards the end of cooking time. Each type affects the final consistency, so read the labels carefully.
The 7 Essential Steps to Perfect Sure Jell Recipes
Creating perfect jams and jellies with Sure Jell requires following a few simple steps meticulously. Adhering to the instructions and paying attention to detail will greatly improve your success rate. Let’s explore each step in detail.
Step 1: Fruit Preparation
The first step in any Sure Jell recipe involves carefully preparing your fruit. Wash and hull (or peel) the fruit thoroughly. Remove any blemishes or bruised spots, as these can affect the flavor and appearance of your final product. The quantity of fruit is very important for proper gelling.
Next, chop or crush the fruit according to your recipe’s instructions. Some recipes call for finely chopped fruit, while others require crushed or mashed fruit. The size of the fruit pieces will influence the texture of your jam or jelly. Image Placeholder: alt text shows “Fresh fruit being prepared for jam making”.
Step 2: Mixing with Sure Jell
Once the fruit is prepped, it’s time to combine it with the Sure Jell pectin. In most recipes, you’ll mix the Sure Jell with a portion of the sugar. This helps to prevent the pectin from clumping when added to the fruit.
Thoroughly combine the Sure Jell and sugar mixture with the fruit in a large saucepan. Stir well to ensure the pectin is evenly distributed. This will contribute to a consistent gel throughout your jam or jelly.
Step 3: Bringing to a Boil
Now, it’s time to bring the fruit and Sure Jell mixture to a rolling boil over high heat. A rolling boil is defined as a boil that cannot be stirred down. Stir constantly to prevent scorching or sticking to the bottom of the pan. Image Placeholder: alt text shows “Jam boiling in a pot”.
The boiling process activates the pectin and allows it to begin forming the gel structure. Maintain the rolling boil for the amount of time specified in your recipe. The boiling time is critical to the gelling process.
Step 4: Adding Remaining Sugar
Once the mixture has reached a rolling boil, and after a brief period of boiling, quickly add the remaining sugar. Stir vigorously to dissolve the sugar completely. Ensure all the sugar crystals are dissolved before proceeding.
Adding the sugar at this stage helps to achieve the right balance of sweetness and pectin activation. It is therefore a critical element in the process. If sugar is not dissolved completely, the texture can be affected.
Step 5: Achieving a Rolling Boil Again
After adding the remaining sugar, bring the mixture back to a full rolling boil. Continue stirring constantly. It’s very important to stir continuously so that the jam does not scorch.
Maintain the rolling boil for the time indicated in your Sure Jell recipe. This will vary depending on the specific fruit and type of pectin you are using. Be sure to follow the recipe for optimum gelling.
Step 6: Testing for Setting Point
Determining when your jam or jelly has reached the setting point is crucial. There are several methods to test for this. One common method involves using a candy thermometer. The mixture should reach a temperature of 220°F (104°C) at sea level, but this temperature might need adjustment for higher altitudes.
Another method is the “cold plate test.” Place a small spoonful of the hot jam or jelly onto a chilled plate. Return the plate to the freezer or refrigerator for a minute. If the jam or jelly wrinkles when pushed with your finger, it has reached the setting point.
Step 7: Processing and Sealing
Once the jam or jelly has reached the setting point, remove it from the heat. Skim off any foam from the surface. Immediately pour the hot jam or jelly into sterilized jars, leaving a ¼-inch headspace at the top.
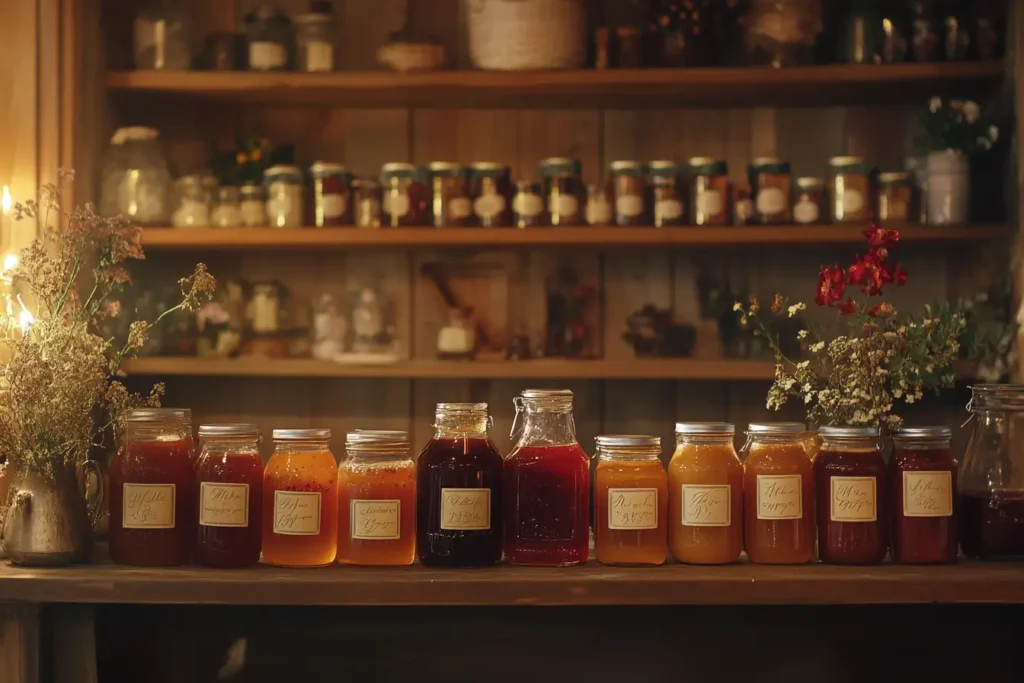
Wipe the rims of the jars clean with a damp cloth. Place sterilized lids on the jars and screw on the bands finger-tight. Process the jars in a boiling water bath canner for the time specified in your recipe. This ensures a proper seal and preserves the jam or jelly for long-term storage. Let the jars cool completely before labeling and storing them.
Common Problems and Solutions
Even with careful attention to detail, problems can sometimes arise when making jams and jellies. Here are some common issues and how to troubleshoot them.
Runny Jam
Runny jam is one of the most frequent complaints. This is often due to insufficient pectin, undercooking, or inaccurate measurements. Make sure you are using the correct amount of Sure Jell for your fruit. Ensure that you are boiling the mixture for the specified time and testing for the setting point. Re-cooking runny jam is possible, but results can be varied.
Cloudy Jelly
Cloudy jelly can be caused by impurities in the fruit juice or improper straining. Always use clear, freshly extracted juice. Avoid squeezing the fruit pulp too hard when extracting the juice, as this can introduce more sediment. Straining the juice through a cheesecloth can help remove particles.
Crystals in Jam
Sugar crystals in jam can form if too much sugar is used or if the mixture is overcooked. Always follow the recipe’s sugar measurements precisely. Adding a small amount of lemon juice can help prevent crystallization. It’s important to stir gently to dissolve all sugar granules.
Sure Jell Recipes: Unveiling Delicious Possibilities
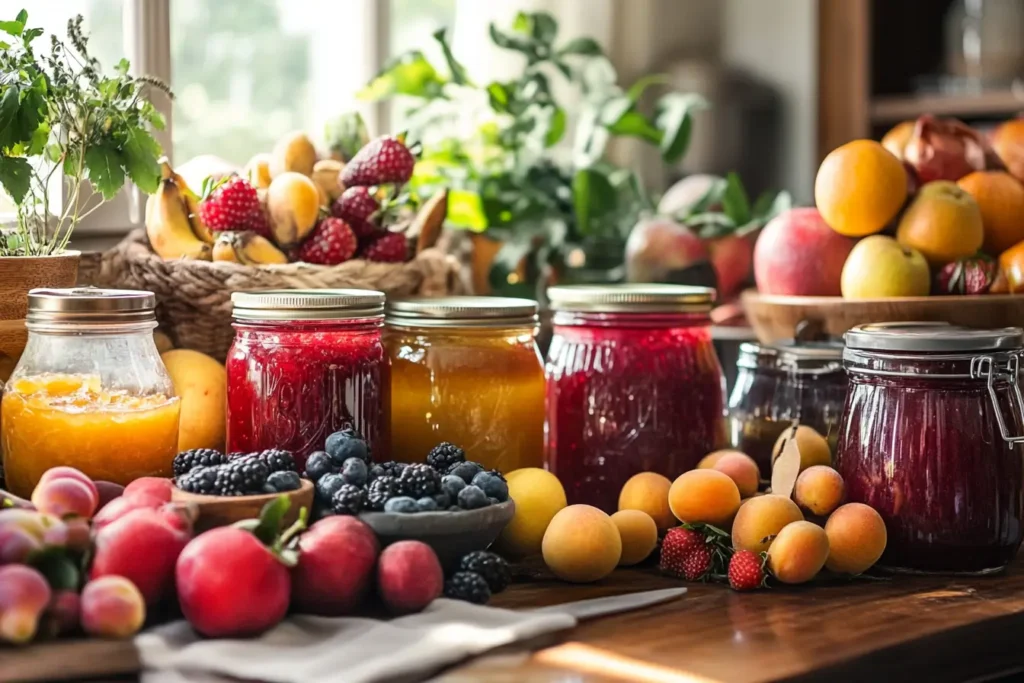
Sure Jell opens the door to a wide range of amazing recipes. Classic strawberry jam remains a popular choice. However, you can also experiment with exciting flavor combinations.
Consider a raspberry-jalapeno jelly for a sweet and spicy twist. Or try making a peach and ginger jam for a warm, aromatic spread. The possibilities are endless, limited only by your imagination. With practice and experimentation, you’ll become a master of homemade preserves.

Sure Jell Recipes: Mastering the Art of No-Sugar-Added Jams
For those seeking a healthier alternative, Sure Jell offers a no-sugar-needed pectin. This allows you to create delicious jams and jellies without the added sugar. This is a wonderful option for people who are watching their sugar intake or prefer a naturally sweet flavor.
With no-sugar-needed pectin, you can use fruit juice concentrates, honey, or other sugar substitutes to sweeten your preserves. However, keep in mind that sugar plays a role in preserving, so following tested recipes is key to safety and shelf stability. Using no-sugar-needed pectin requires a bit more care and precision. Be sure to follow the instructions carefully for optimal results.
The Science Behind the Set: Understanding Pectin
Pectin is a complex carbohydrate found in the cell walls of fruits. It acts as a gelling agent, giving jams and jellies their characteristic texture. When heated in the presence of sugar and acid, pectin forms a network that traps liquid, creating a solid gel.
Different fruits contain varying levels of pectin. Fruits like apples, citrus fruits, and cranberries are naturally high in pectin. Other fruits, such as strawberries and raspberries, are lower in pectin and require added pectin, such as Sure Jell, to achieve a proper set. Factors such as pH levels and sugar concentration also affect the gelling process. Understanding these scientific principles helps to become a skilled jam and jelly maker.
Sure Jell Recipes: The Importance of Sterile Equipment
Sterilizing jars and equipment is paramount when making jams and jellies. Proper sterilization eliminates bacteria and molds. It ensures that your preserves remain safe and shelf-stable for an extended period.
To sterilize jars, wash them thoroughly with hot, soapy water. Rinse them well and then place them in a boiling water bath canner for 10 minutes. Alternatively, you can sterilize them in a dishwasher using the sanitize cycle. Lids should be sterilized by simmering them in hot water for 10 minutes before use. Always use new lids each time you make jam or jelly to ensure a proper seal.
Keyphrase in Sure Jell Recipes
Sure Jell recipes offer an incredible opportunity to make delectable homemade jams and jellies, allowing you to control the ingredients and create custom flavors that store-bought varieties simply can’t match.
Sure Jell Recipes: Ultimate Guide to Delicious Preserves
can be a great way to create custom jams and jellies.
FAQ
What’s the difference between pectin and Sure-Jell?
Pectin is a naturally occurring substance in fruits that helps jams and jellies thicken. Sure-Jell is simply a brand name of commercially produced pectin, available in different formulations for various recipes and sugar levels.
How long do you boil Sure-Jell?
The boiling time for Sure-Jell varies depending on the specific recipe and type of fruit used. Always follow the instructions in your recipe. However, it usually involves boiling the fruit and pectin mixture for 1-2 minutes, then adding sugar and boiling for another 1-2 minutes until the setting point is reached.