Golden, Crispy, Crowd-Pleasant, and Shockingly Easy to Make at Home
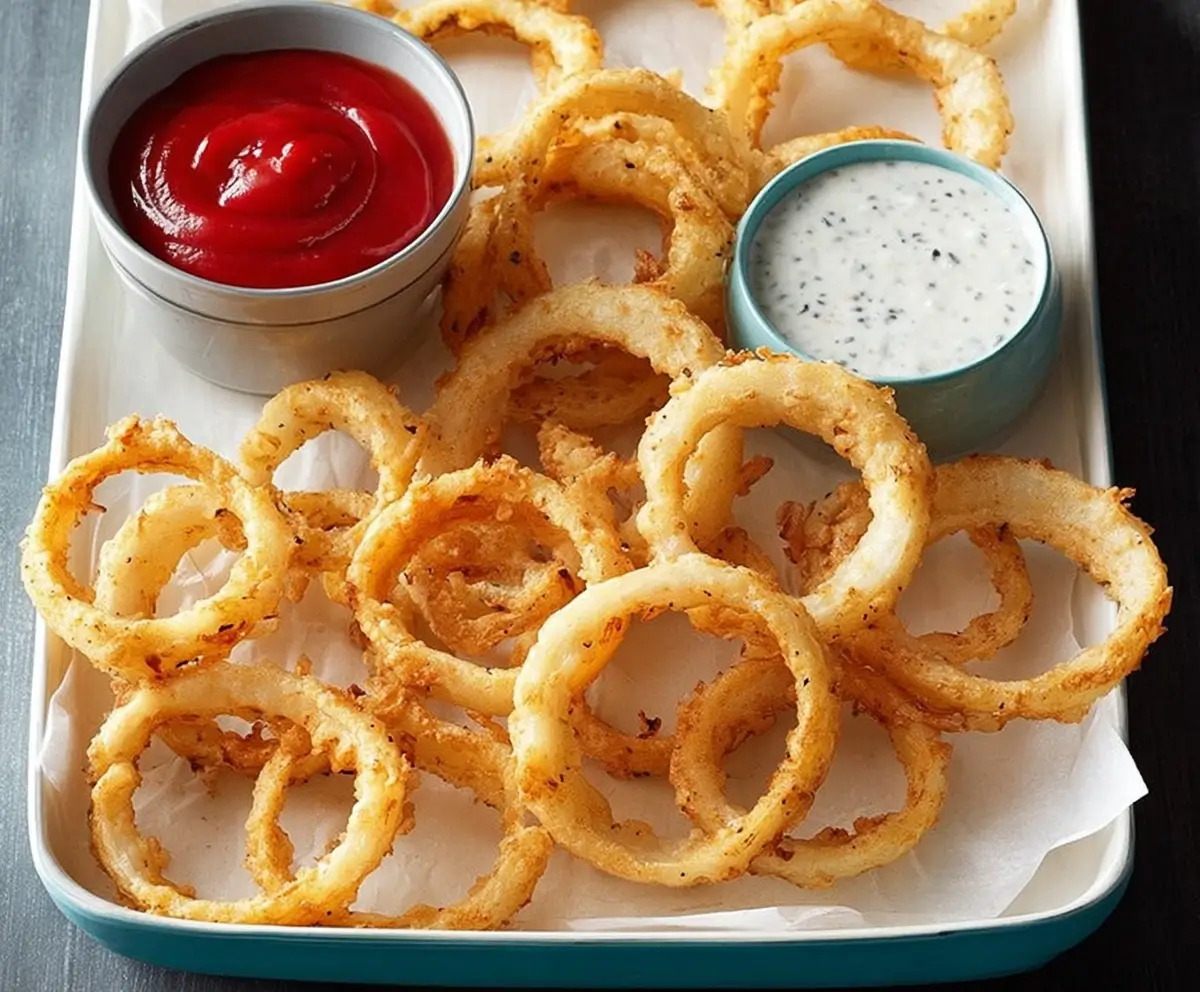
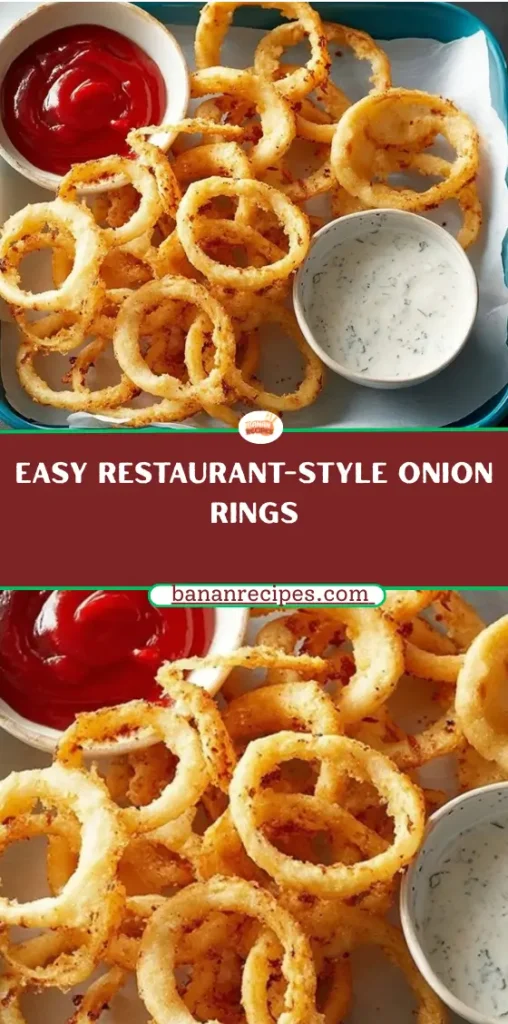
Crispy onion rings are one of those universally loved comfort foods—warm, crunchy, lightly sweet from the onion, and wonderfully salty and savory on the outside. Whether served alongside a juicy burger, as a fun appetizer, or as a crunchy topping on salads or sandwiches, onion rings add that irresistible texture and flavor that elevates any meal. Restaurants have made this snack a staple on thousands of menus worldwide, but what many home cooks don’t realize is that creating restaurant-quality onion rings from scratch is far simpler than it appears.
This professional guide breaks down everything you need to know about making onion rings that are crisp, golden brown, and consistently delicious. Using just a handful of everyday ingredients, you’ll create onion rings with a light, airy coating instead of a heavy, greasy one. This recipe is adaptable, budget-friendly, and fast—requiring only about 25 minutes from start to finish.
Whether you’ve made onion rings before or you’re looking to try for the first time, this article will walk you through the science behind a good batter, the technique needed for the perfect crunch, and how to avoid common frying mistakes. You’ll also find variations, serving ideas, storage instructions, and answers to commonly asked cooking questions. By the end, you’ll be confident preparing a batch that rivals anything you’ve had at your favorite restaurant.
Why This Homemade Onion Rings Recipe Works So Well
Before we jump into ingredients, it helps to understand why this recipe delivers such great results.
✦ A Light, Crisp Batter
Unlike heavier batters made with buttermilk, cornstarch, or beer, this recipe uses a simple combination of flour, egg, water, and baking powder. The baking powder causes the batter to puff slightly during frying, while the flour adds structure and the egg gives the coating a beautiful golden color.
✦ Perfectly Balanced Seasoning
The addition of seasoned salt ensures the onion rings are flavorful without overpowering the natural sweetness of the onion.
✦ Quick Preparation
Because the batter comes together in seconds and the onions need no pre-cooking, this recipe is ideal for a last-minute side dish or appetizer.
✦ Restaurant-Style Texture
Thanks to deep-frying at the proper temperature (375°F), the onion rings cook in minutes, producing a crispy exterior that stays crunchy even after cooling slightly.
Ingredients
These are the exact ingredients from your original recipe. No changes have been made.
For the Onion Rings
- 1/2 cup all-purpose flour
- 1/2 cup water
- 1 large egg, lightly beaten
- 1 teaspoon seasoned salt
- 1/2 teaspoon baking powder
- 1 large onion, very thinly sliced
- Oil for deep-fat frying
Nutrition Facts (Per 1/2 cup)
71 calories • 5g fat • 0g saturated fat • 16mg cholesterol
153mg sodium • 5g carbohydrates • 1g sugars • 0g fiber • 1g protein
These onion rings work wonderfully as:
✔ A crunchy burger topper
✔ A fun appetizer
✔ A crispy layer on salads or casseroles
✔ A flavorful side dish for chicken, sandwiches, or BBQ
Preparation Method
Below is a detailed, professional-style breakdown of the method you provided, expanded with expert technique tips to help you get the best results possible.
1. Prepare the Batter
In a shallow mixing bowl, whisk together the following until smooth:
- 1/2 cup all-purpose flour
- 1/2 cup water
- 1 large egg (lightly beaten)
- 1 teaspoon seasoned salt
- 1/2 teaspoon baking powder
Whisk until the mixture forms a smooth, lump-free batter. It should have a consistency similar to pancake batter—pourable, but thick enough to cling to the onion rings.
Professional Tip:
If your batter seems too thick, add a tablespoon or two of water.
If it feels too thin, sprinkle in a teaspoon of flour.
2. Slice and Separate the Onions
Slice the large onion very thinly, then gently separate each slice into individual rings.
Thin slices help the onions cook quickly and evenly, allowing the batter to crisp without burning.
Professional Tip:
For maximum sweetness and tenderness, select Vidalia or other sweet onions.
For stronger flavor, use yellow onions.
3. Heat the Oil
In a deep fryer or heavy-bottomed pot, heat about 1 inch of oil to 375°F (190°C).
Maintaining the correct oil temperature is crucial—too hot and the rings burn; too cold and the batter becomes soggy.
Professional Tip:
Test the oil without a thermometer by dipping a small drop of batter—
If it sizzles and rises immediately, the oil is ready.
4. Dip the Onion Rings
One by one, dip each onion ring into the batter, ensuring it is fully coated. Allow excess batter to drip back into the bowl.
Using tongs can make the process cleaner and safer.
5. Fry the Onion Rings
Working in batches, carefully place the coated rings into the hot oil. Fry for 1 to 1½ minutes per side, or until golden brown and crispy.
Avoid overcrowding the fryer, which lowers the oil temperature.
Professional Tip:
Flip the onion rings halfway through frying for even browning.
6. Drain and Serve
Use a slotted spoon to transfer the onion rings to a paper towel-lined plate. This removes excess oil and keeps the coating crisp.
Serve immediately for best results.
Expert Tips for Even Better Results
✔ Keep the onions cold before dipping.
Cold onion slices prevent the batter from sliding off.
✔ Pat the onion slices dry.
Moisture prevents the coating from sticking properly.
✔ Use fresh oil whenever possible.
Old oil can darken the onion rings prematurely.
✔ Season immediately after frying.
A light sprinkle of salt helps the seasoning cling beautifully.
✔ Serve hot.
Onion rings taste their absolute best the moment they are fried.
Serving Suggestions
Onion rings are incredibly versatile. Here are professional serving ideas:
1. Classic Burger Side
Pair with cheeseburgers, BBQ burgers, turkey burgers, or sliders.
2. Sandwich or Wrap Enhancer
Use onion rings as a filling layer—especially delicious in:
- Fried chicken sandwiches
- Pulled pork sandwiches
- Steak sandwiches
3. Salad Crunch
Crumble warm onion rings on:
- Cobb salad
- BBQ chicken salad
- Ranch-topped lettuce bowls
4. Dipping Sauces to Try
These pair especially well:
- Ranch dressing
- Honey mustard
- Spicy mayo
- Chipotle aioli
- Ketchup
- Sweet chili sauce
5. Appetizer Platter
Serve alongside mozzarella sticks, fries, wings, or potato skins.
Variations You Can Try
Even though the ingredient list stays the same, you can prepare different styles using the same base recipe.
1. Extra-Crispy Double-Dipped Rings
Dip the onion into flour first, then into batter.
This helps create a thicker crunch.
2. Spicy Onion Rings
Add these to the batter:
- Cayenne pepper
- Chili powder
- Paprika
3. Garlic Herb Onion Rings
Mix dried herbs or garlic powder into the batter for more flavor.
4. Panko-Coated Rings
After dipping in batter, roll in panko breadcrumbs for a super-crunchy coating.
5. Thick Cut Gourmet Rings
Instead of thin slices, cut ½-inch thick rings for a “steakhouse” feel.
Storage and Reheating Guide
Onion rings taste best fresh, but they can be stored and reheated.
To Store:
Place cooled rings in an airtight container and refrigerate for up to 2 days.
To Reheat (Best Method):
- Oven: 400°F for 5–7 minutes
- Air Fryer: 375°F for 3–4 minutes
Avoid microwaving—they become soggy.
Conclusion
Homemade onion rings are the perfect blend of simplicity and satisfaction. With only a few ingredients—flour, egg, water, baking powder, seasoned salt, and onions—you can create a side dish that feels restaurant-quality without leaving your kitchen. The key is controlling the batter consistency, slicing the onions thinly, and frying in properly heated oil.
Whether you serve them as a snack, side dish, appetizer, or burger topping, these onion rings are guaranteed to impress your family and guests. They’re fast, inexpensive, and endlessly versatile, making them a recipe worth returning to again and again.
Frequently Asked Questions
1. Why won’t the batter stick to my onions?
This usually happens when the onions are too wet. Pat them dry with paper towels before dipping. Cold onion slices also help the batter cling better.
2. Can I make onion rings without a deep fryer?
Yes! Any heavy-bottomed pot—like a Dutch oven—works well as long as you heat at least 1 inch of oil.
3. What type of onions are best?
Sweet onions (such as Vidalia) yield mild, sweet, tender rings.
Yellow onions produce a stronger, more savory flavor.
4. Can I bake the onion rings instead of frying them?
You can, but they will not be as crispy. For baked rings:
- Dip in batter
- Roll in breadcrumbs
- Bake at 425°F for 15–20 minutes
5. How do I keep onion rings crispy?
- Fry at the correct temperature
- Drain on paper towels
- Serve immediately
- Avoid stacking the rings
6. Can I freeze onion rings?
Yes—freeze them in a single layer, then store in a freezer bag for up to 2 months. Reheat in an air fryer or oven.
7. Why do my onion rings turn out greasy?
Likely due to low oil temperature. Oil must remain at 375°F for proper frying.
8. Can I prepare the batter ahead of time?
It’s best fresh, but you can mix it up to 1 hour early and keep it chilled.
Print
The Ultimate Guide to Perfect Homemade Onion Rings
- Total Time: 25 minutes
- Yield: 12 servings
- Diet: Vegetarian
Description
Get restaurant-quality crispy onion rings at home with this simple and delicious recipe. Crunchy, golden, and irresistible!
Ingredients
- 1/2 cup all-purpose flour
- 1/2 cup water
- 1 large egg, lightly beaten
- 1 teaspoon seasoned salt
- 1/2 teaspoon baking powder
- 1 large onion, very thinly sliced
Instructions
- Preheat oil in a deep fryer or large skillet to 350°F (175°C).
- In a bowl, mix flour, water, egg, seasoned salt, and baking powder until smooth.
- Dip onion slices into batter, then carefully place in hot oil.
- Fry until golden brown, about 2–3 minutes per side.
- Remove and drain on paper towels. Serve immediately.
Notes
- Use very thin onion slices for crispiness.
- Serve with ketchup or your favorite dipping sauce.
- Prep Time: 10 minutes
- Cook Time: 15 minutes
- Category: Appetizer, Snack
- Method: Fry
- Cuisine: American