The Ultimate Guide to Perfect Homemade Pizza Pockets
Introduction
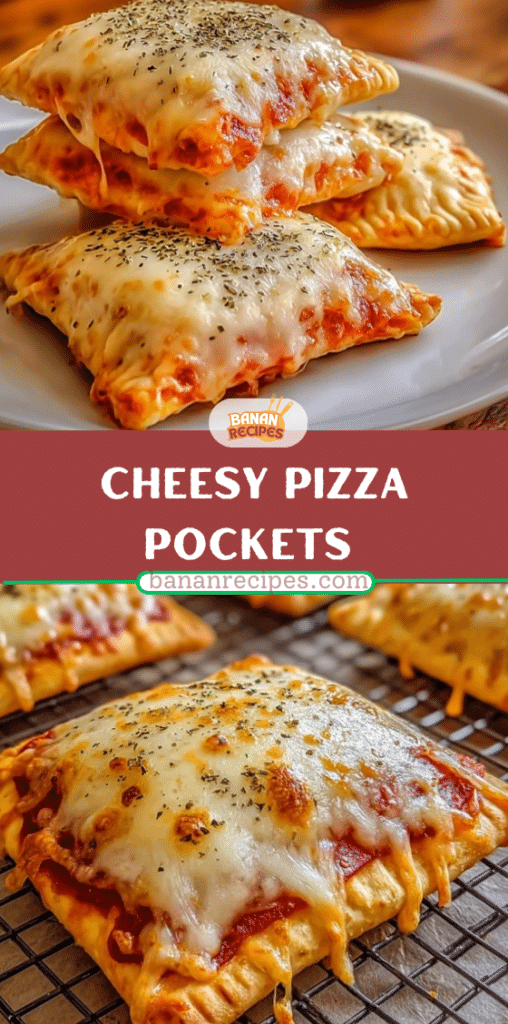
Few foods inspire as much universal excitement as pizza. Its irresistible combination of soft dough, savory sauce, melted cheese, and flavorful toppings has made it one of the world’s most beloved comfort foods. But what if you could enjoy all that goodness in a compact, handheld form that’s easy to serve, fun to eat, and perfect for any occasion? That’s where Cheesy Pizza Pockets come in.
Cheesy Pizza Pockets are essentially miniature stuffed pizzas—golden, flaky dough filled with rich tomato sauce, melted mozzarella, and savory toppings, then baked until perfectly puffed and delicious. They’re ideal for busy weeknights, family gatherings, game nights, school lunches, or quick snacks. Best of all, they’re customizable, portable, and incredibly satisfying.
This recipe is designed to be simple enough for beginners while still delivering bakery-level results. With just a handful of pantry ingredients and about 30 minutes from start to finish, you can create warm, cheesy pockets that taste like they came straight from a pizzeria oven. Whether you’re cooking for yourself, your family, or guests, these pizza pockets are guaranteed to become a repeat favorite.
In this comprehensive recipe guide, you’ll learn everything you need to know to make perfect Cheesy Pizza Pockets—from ingredient selection and preparation techniques to baking tips, variations, troubleshooting advice, and frequently asked questions. By the end, you’ll not only know how to make them, but you’ll understand why each step works, giving you the confidence to customize and perfect the recipe every time.
Recipe Overview
- Recipe Name: Cheesy Pizza Pockets
- Preparation Time: 15 minutes
- Cooking Time: 12–15 minutes
- Total Time: About 30 minutes
- Yield: 8 pizza pockets
- Difficulty Level: Easy
- Cooking Method: Baking
- Best Served: Warm
Ingredients (Makes 8 Pockets)
- 1 can refrigerated pizza dough (or homemade dough)
- 1 cup pizza sauce
- 1½ cups shredded mozzarella cheese
- ½ cup mini pepperoni or diced cooked sausage
- ¼ cup chopped bell peppers
- ¼ tsp garlic powder
- ½ tsp Italian seasoning
- 1 tbsp olive oil
- Optional: grated Parmesan or chili flakes
Ingredient Breakdown and Tips
Understanding your ingredients helps you achieve the best results.
Pizza Dough
Refrigerated pizza dough is convenient, reliable, and easy to shape. It creates a soft interior with a slightly crisp exterior when baked. Homemade dough can also be used if you prefer a more artisanal texture or want to control ingredients.
Tip: Let refrigerated dough sit at room temperature for 10 minutes before rolling. This prevents tearing.
Pizza Sauce
The sauce adds moisture, flavor, and acidity that balances the richness of the cheese and toppings. Choose a thick pizza sauce rather than thin pasta sauce to avoid soggy pockets.
Mozzarella Cheese
Mozzarella melts smoothly and creates the classic stretchy cheese pull. Shredded cheese distributes evenly and melts faster than sliced cheese.
Pepperoni or Sausage
These toppings add savory depth and protein. Mini pepperoni works especially well because it spreads evenly without needing chopping.
Bell Peppers
Bell peppers contribute freshness, mild sweetness, and a slight crunch that contrasts beautifully with the gooey filling.
Seasonings
- Garlic Powder: Enhances savory flavor.
- Italian Seasoning: Provides herbs like oregano, basil, and thyme for classic pizza aroma.
Olive Oil
Brushing olive oil on top promotes browning and gives the pockets a glossy, golden finish.
Optional Toppings
- Parmesan: Adds salty richness and umami.
- Chili Flakes: Introduce gentle heat for spice lovers.
Equipment Needed
You don’t need fancy tools to make pizza pockets. Just basic kitchen equipment:
- Baking sheet
- Parchment paper
- Rolling pin (optional but helpful)
- Knife or pizza cutter
- Fork for sealing edges
- Pastry brush (or spoon)

Preparation Method
Follow these detailed step-by-step instructions for perfect pizza pockets every time.
Step 1: Prepare the Oven
Preheat your oven to 400°F (200°C). Proper preheating ensures even baking and helps the dough puff quickly once inside.
Line a baking sheet with parchment paper. This prevents sticking and makes cleanup easy.
Step 2: Roll the Dough
Roll out the pizza dough on a lightly floured surface. Stretch it gently until it’s evenly thin but not tearing. Cut the dough into 8 equal rectangles or circles.
Uniform shapes ensure even baking and consistent pocket size.
Step 3: Add the Filling
On one half of each dough piece, spread a spoonful of pizza sauce. Leave a small border around the edges so the filling doesn’t leak.
Top with:
- Mozzarella cheese
- Pepperoni or sausage
- Bell peppers
- Garlic powder
- Italian seasoning
Avoid overfilling. Too much filling can cause pockets to burst during baking.
Step 4: Seal the Pockets
Fold the empty half of the dough over the filling to form a pocket. Press the edges together firmly, then crimp with a fork to seal.
Sealing properly is crucial—it keeps cheese from leaking out and ensures steam stays inside for fluffy interiors.
Step 5: Brush with Oil
Lightly brush the tops with olive oil. This step enhances browning and gives the crust a slightly crisp texture.
If desired, sprinkle Parmesan or chili flakes on top for extra flavor.
Step 6: Bake
Place the pockets on the prepared baking sheet and bake for 12–15 minutes, or until:
- The dough is puffed
- The tops are golden brown
- Cheese inside is melted
Step 7: Cool and Serve
Remove from oven and let cool for a few minutes. The filling will be very hot immediately after baking.
Serve warm with extra pizza sauce for dipping.
Why This Recipe Works
This recipe succeeds because it balances moisture, fat, and heat:
- Thick sauce prevents soggy dough.
- Cheese melts evenly for creamy texture.
- Oil promotes browning.
- Proper sealing traps steam for fluffy interiors.
Each step contributes to texture, flavor, and structure, ensuring consistent results.
Pro Tips for Perfect Pizza Pockets
- Don’t Overfill – Too much filling causes bursting.
- Seal Well – Press edges firmly before baking.
- Use Medium Sauce Thickness – Avoid watery sauces.
- Rotate Tray – Rotate halfway through baking for even browning.
- Rest Before Eating – Let them cool slightly so filling sets.
Flavor Variations
One of the best things about pizza pockets is their versatility.
Meat Lover’s Version
Add cooked bacon, sausage, and ham.
Veggie Delight
Use mushrooms, olives, onions, and spinach.
Spicy Kick
Add jalapeños or hot sauce.
Supreme Style
Combine meats, vegetables, and extra cheese.
Breakfast Pockets
Fill with scrambled eggs, cheese, and breakfast sausage.
Serving Suggestions
Cheesy Pizza Pockets pair well with:
- Marinara dipping sauce
- Garlic butter dip
- Fresh salad
- Soup
- Roasted vegetables
They’re excellent for lunchboxes, parties, picnics, and appetizers.
Storage and Reheating
Refrigerator: Store leftovers in an airtight container for up to 3 days.
Freezer: Freeze baked pockets for up to 2 months. Wrap individually for convenience.
Reheating:
- Oven: 350°F for 10 minutes
- Air fryer: 350°F for 5–6 minutes
- Microwave: Quick but softer crust
For best texture, reheat in oven or air fryer.
Nutritional Insight
Exact values vary depending on ingredients, but pizza pockets typically provide:
- Carbohydrates from dough for energy
- Protein from cheese and meat
- Fats for flavor and satiety
You can lighten them by using reduced-fat cheese or adding more vegetables.
Common Mistakes to Avoid
1. Dough Too Thick
Results in undercooked centers.
2. Sauce Too Watery
Leads to soggy pockets.
3. Overbaking
Dries out filling and hardens crust.
4. Undersealing Edges
Causes cheese leaks.
5. Overcrowding Tray
Prevents even browning.
Customization Ideas
- Add pesto instead of pizza sauce.
- Mix cheeses like cheddar or provolone.
- Brush crust with garlic butter.
- Sprinkle sesame or herb seasoning on top.
- Make mini versions for appetizers.
Kid-Friendly Cooking Activity
Pizza pockets are perfect for cooking with kids because they can:
- Fill pockets
- Choose toppings
- Seal edges
This makes cooking interactive and fun while teaching kitchen skills.
Make-Ahead Instructions
You can assemble pockets in advance and refrigerate them uncooked for up to 24 hours. Bake when ready to serve.
This makes them ideal for:
- Meal prep
- Parties
- Busy weeknights
Texture Guide
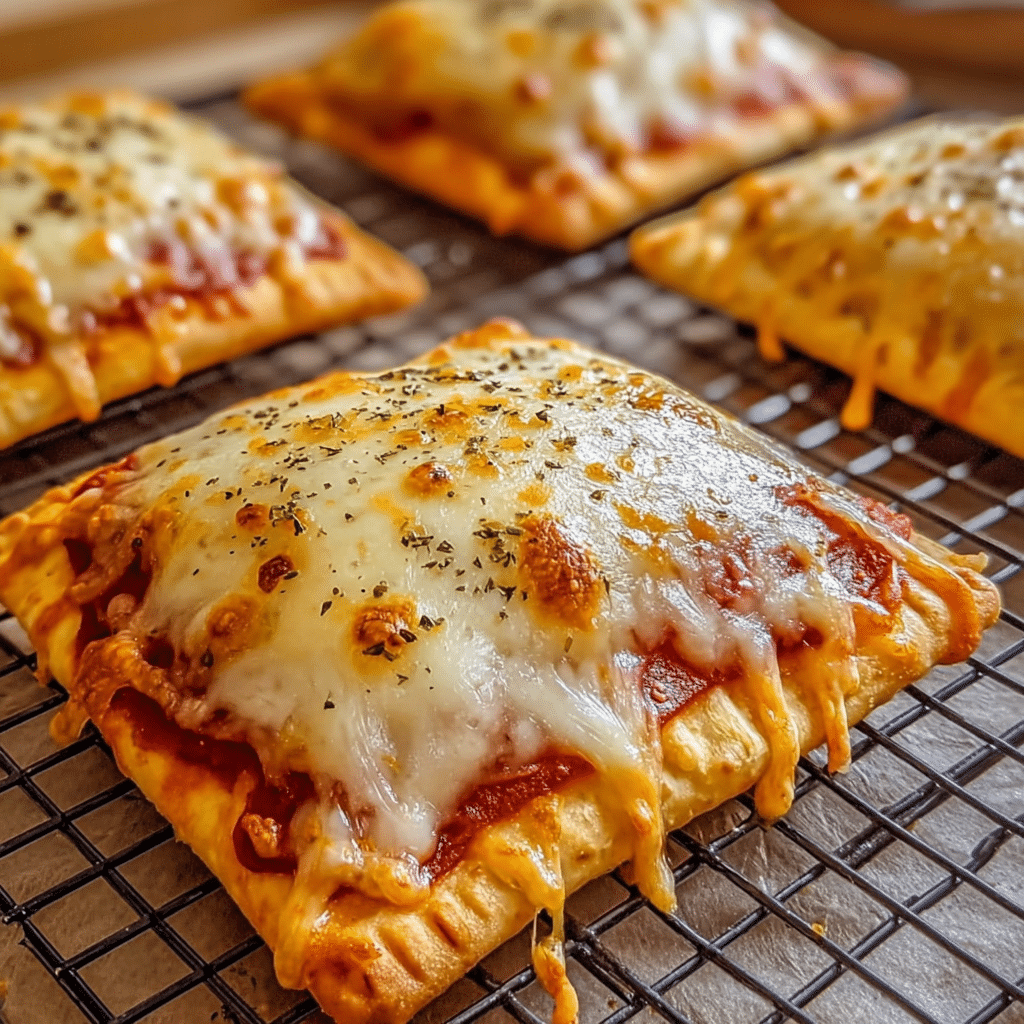
A perfect pizza pocket should have:
- Crisp golden crust outside
- Soft fluffy interior
- Gooey melted cheese
- Balanced filling ratio
If any of these are off, adjust dough thickness, filling amount, or bake time.
Conclusion
Cheesy Pizza Pockets are the perfect blend of convenience, comfort, and flavor. They capture everything people love about pizza—savory sauce, melted cheese, and delicious toppings—but package it into a fun, portable form that’s easy to serve and even easier to enjoy.
This recipe stands out because it’s simple, flexible, and foolproof. Whether you’re making dinner for your family, snacks for a gathering, or meal prep for the week, these pizza pockets deliver reliable results every time. Their customizable nature means you can adapt them to suit any taste preference, dietary need, or ingredient availability.
Once you master this recipe, you’ll find yourself returning to it again and again—not just because it’s easy, but because it’s genuinely delicious. With golden crusts, cheesy centers, and endless variations, Cheesy Pizza Pockets truly are a recipe you’ll crave every night.
Print
Cheesy Pizza Pockets – You’ll Crave Them Every Night!
- Total Time: 25 minutes
- Yield: 8 pockets
Description
Cheesy Pizza Pockets – golden, crispy handheld pockets filled with melty mozzarella, savory sauce, and flavorful toppings. Perfect for snacks, lunches, or quick dinners.
Ingredients
- 1 can refrigerated pizza dough (or homemade dough)
- 1 cup pizza sauce
- 1½ cups shredded mozzarella cheese
- ½ cup mini pepperoni or diced cooked sausage
- ¼ cup chopped bell peppers
- ¼ teaspoon garlic powder
- ½ teaspoon Italian seasoning
- 1 tablespoon olive oil
- Optional: grated Parmesan or chili flakes
Instructions
- Preheat oven to 400°F (200°C) and line a baking sheet with parchment paper.
- Roll out pizza dough and cut into 8 rectangles or circles.
- Spread pizza sauce on half of each piece. Top with mozzarella, pepperoni, bell peppers, garlic powder, and Italian seasoning.
- Fold dough over filling and press edges with a fork to seal. Brush tops with olive oil.
- Bake for 12–15 minutes until golden brown and puffed.
- Let cool slightly, then serve warm with extra pizza sauce for dipping.
Notes
- Customize fillings with veggies, ham, or olives for variety.
- Serve with extra sauce for dipping.
- Prep Time: 10 minutes
- Cook Time: 15 minutes
- Category: Snack
- Method: Baking
- Cuisine: Italian-American
Frequently Asked Questions
1. Can I use homemade dough instead of canned?
Yes. Homemade dough works wonderfully and can add a more artisanal flavor and texture.
2. How do I keep pockets from opening while baking?
Press edges firmly and crimp with a fork. You can also brush edges with water before sealing.
3. Can I make them vegetarian?
Absolutely. Simply omit the meat and add vegetables like mushrooms, olives, or spinach.
4. Can I air fry pizza pockets?
Yes. Cook at 350°F for about 8–10 minutes until golden and heated through.
5. Why did my pockets leak cheese?
They were likely overfilled or not sealed tightly enough.
6. Can I freeze them before baking?
Yes. Freeze assembled pockets, then bake directly from frozen, adding a few extra minutes to cook time.
7. What cheese works best besides mozzarella?
Provolone, cheddar, Monterey Jack, or a cheese blend all work well.
8. How do I make them crispier?
Bake directly on a preheated baking stone or place them on the oven rack for the last 2 minutes.
9. Are they good for parties?
Yes. Make mini versions for easy finger food.
10. Can I prepare them ahead for lunchboxes?
Definitely. Bake, cool, refrigerate, and reheat briefly before packing.